Pages

Showing posts with label rabbit. Show all posts

Monday, January 26, 2015

Wonky Wabbit

Hmmm...  haven't posted since last August!  Somewhere between then and now this rabbit rug was finally completed!  Also between then and now we went to Ireland and Paris, then to Mexico for our son's wedding.  Then we moved my Mom to our town.  Actually, it feels kind of good to have the time again to do a blog post...

Wonky Wabbit has a long history.  Here is a concise version:  My husband's cousin decided she wanted to learn rug hooking.  She found a teacher, chose a pattern (this pattern), chose wool (not this wool), received some instruction and got started.  I have noticed that new rug hooking students either "click" or don't.  I certainly understand that.  I have tried different creative things over the years that didn't click with me or were simply beyond my capabilities.  After hooking a small part of the rug, she rolled it all up and stored it away.  It was just not for her.

Some number of years after that, I convinced her to send the rug to me to let me take a look.  Some number of years after that, she did.  I thought the pattern was pretty cute, so I decided to finish it.   (All it says on the pattern is "Stephanie").  Initially I made an effort to use her wool, but there were issues.  First, I was unhappy with the wool she sent.  (I admit that I am happily and completely and totally spoiled by the beautifully prepared wool I buy from my rug hooking teacher Anita White.)  Cousin's wool was very loose, possibly not felted, and already cut into strips.  When I tried to hook with it, the strip would often just disintegrate in my hand.  So, new wool needed!  (Oh darn!)  Cousin had chosen more primitive colors (all greens for the ground, light blue for the sky, black and white for the rabbit).  For this simple pattern, I thought it would be fun to make the ground a patchwork of bright colors, keep the black and white scheme for the rabbit, and make a more dramatic sky in keeping with the bright patchwork ground.

So I did.


I think it turned out pretty cute!  At one point I tried adding a black and white checked border around the rug.  For some reason, I could not get it to look right, so I used a black and white textured wool to bind the rug.

Now the wonky part:  The foundation material is monks cloth.  I have made rugs on monks cloth before, although I much prefer linen.  As you can see, for the patchwork sections on the ground, I mixed up the direction of the hooking.  Even though I was very careful to get the outer row of hooking in there very straight, the edges of this rug are not straight, especially over on the right.  I have worked and worked with blocking, steaming, even a bit of swearing.  I am blaming it on the stretchiness of the monks cloth, some level of abuse caused by unhooking/rehooking, and the radical change of direction in the patchwork sections.

But I like it and it makes me smile every time I look at it - wonkiness and all!


Saturday, August 3, 2013

The County Fair. An Assault on the Senses.

The County Fair.  I mean, really, how much closer to America can one get?

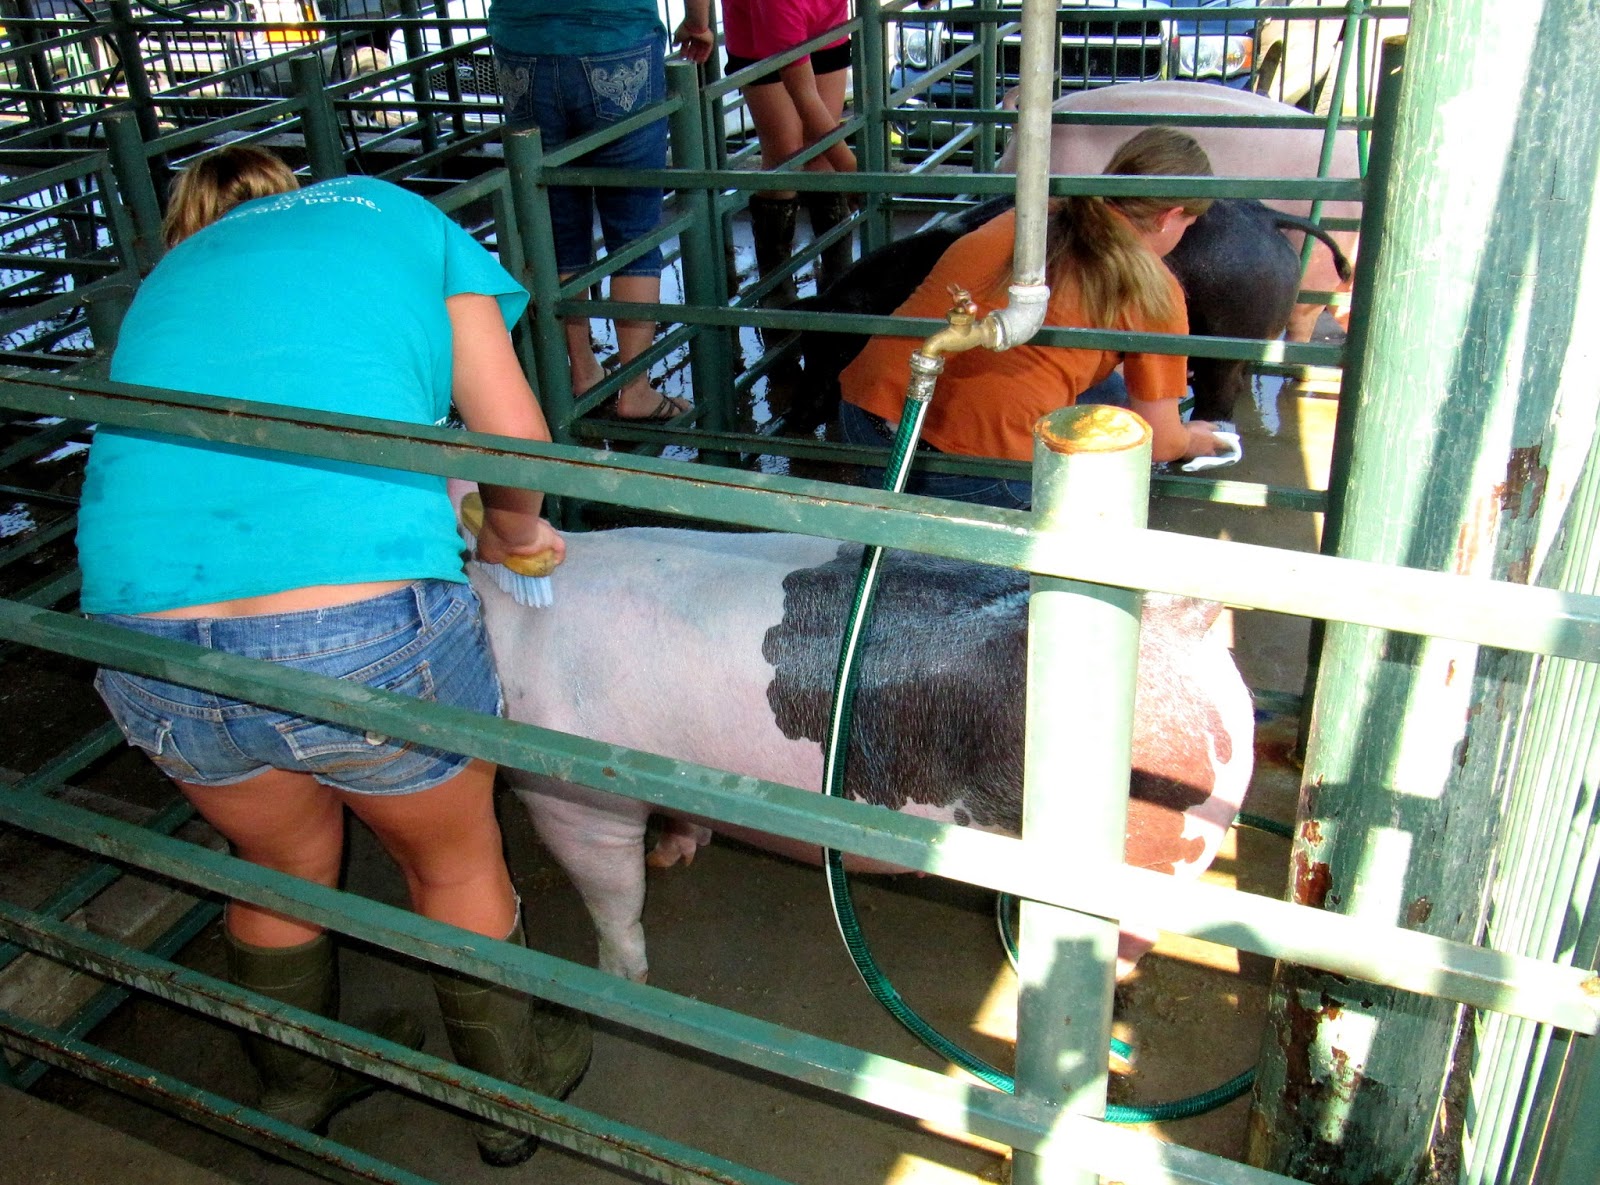
The Fair in my little part of America is this Fair.  The Douglas County Fair.  The sights, the smells, the tastes, the noises, the feel of fur and dirt and heat.  All there. 

We like to go see the animals.  My favorite ones are found in this particular building.
Yes, the rabbits have their own building!  I take photos of the rabbits to use as "reference materials" when I happen to have a rabbit to hook in a rug.  That happens often.

This big guy was absolutely gorgeous.  There were signs posted all over that said "We Bite", so I resisted the tremendous urge to reach in there and hug him.  He is a "Satin".  He looked more like mink to me.

 Just minding their own business...  very curious about me.

Here's a pretty little Dutch Rabbit.

We're all EARS!
 
 I must be interrupting nap time.

 Your basic chicken.  I think there is something very prehistoric-looking about chickens.

 The feathers are so interesting.

The Fair is a learning experience.  I learned that chickens are very hard to photograph.  They hardly ever stop moving around, especially their heads!  I took at least 25 photos of this beautiful black and white chicken and this is the best one - even though he has no feet!  What I was trying to capture was his wonderful punk rock hairdo.

Here's his girlfriend (I am making that up based on my limited knowledge of birds.)
Again, their heads are in constant motion... but I think you can still get the idea here! 


These three amigos were my favorite chickens.  Chicken One has pushed his head through the bars of the cage in an effort to peck and possibly eat my camera.  Chicken Three looks a bit judgmental about Chicken One's behavior. 

I can't even imagine what has captivated them at this moment.  Someone may have entered the barn eating a funnel cake.  May Whatever it is, they WANT it.

Always ready for action at a moment's notice.


The Three Little Pigs were there.  They were little hams.  Love.

One of the barns had sheep in all stages from very wooly to sheared smooth.  Even though the temperature was in the 90's, the sheared sheep all had on blankets!  This was the most beautiful one.  This sheep was so proud of its beautiful blanket that it jumped right up and walked over to me when I came up to the pen.

This one was not so recently sheared...  no blanket required.  I really love how the animals are so willing to look right at me (hence, look right at the the camera).  Most are very willing photo subjects (chickens excluded).
 

The Crested Duck.  Perfect name.  Don't you wonder how this evolved?  I'm just happy it did.
 

I also wonder what they think of us.

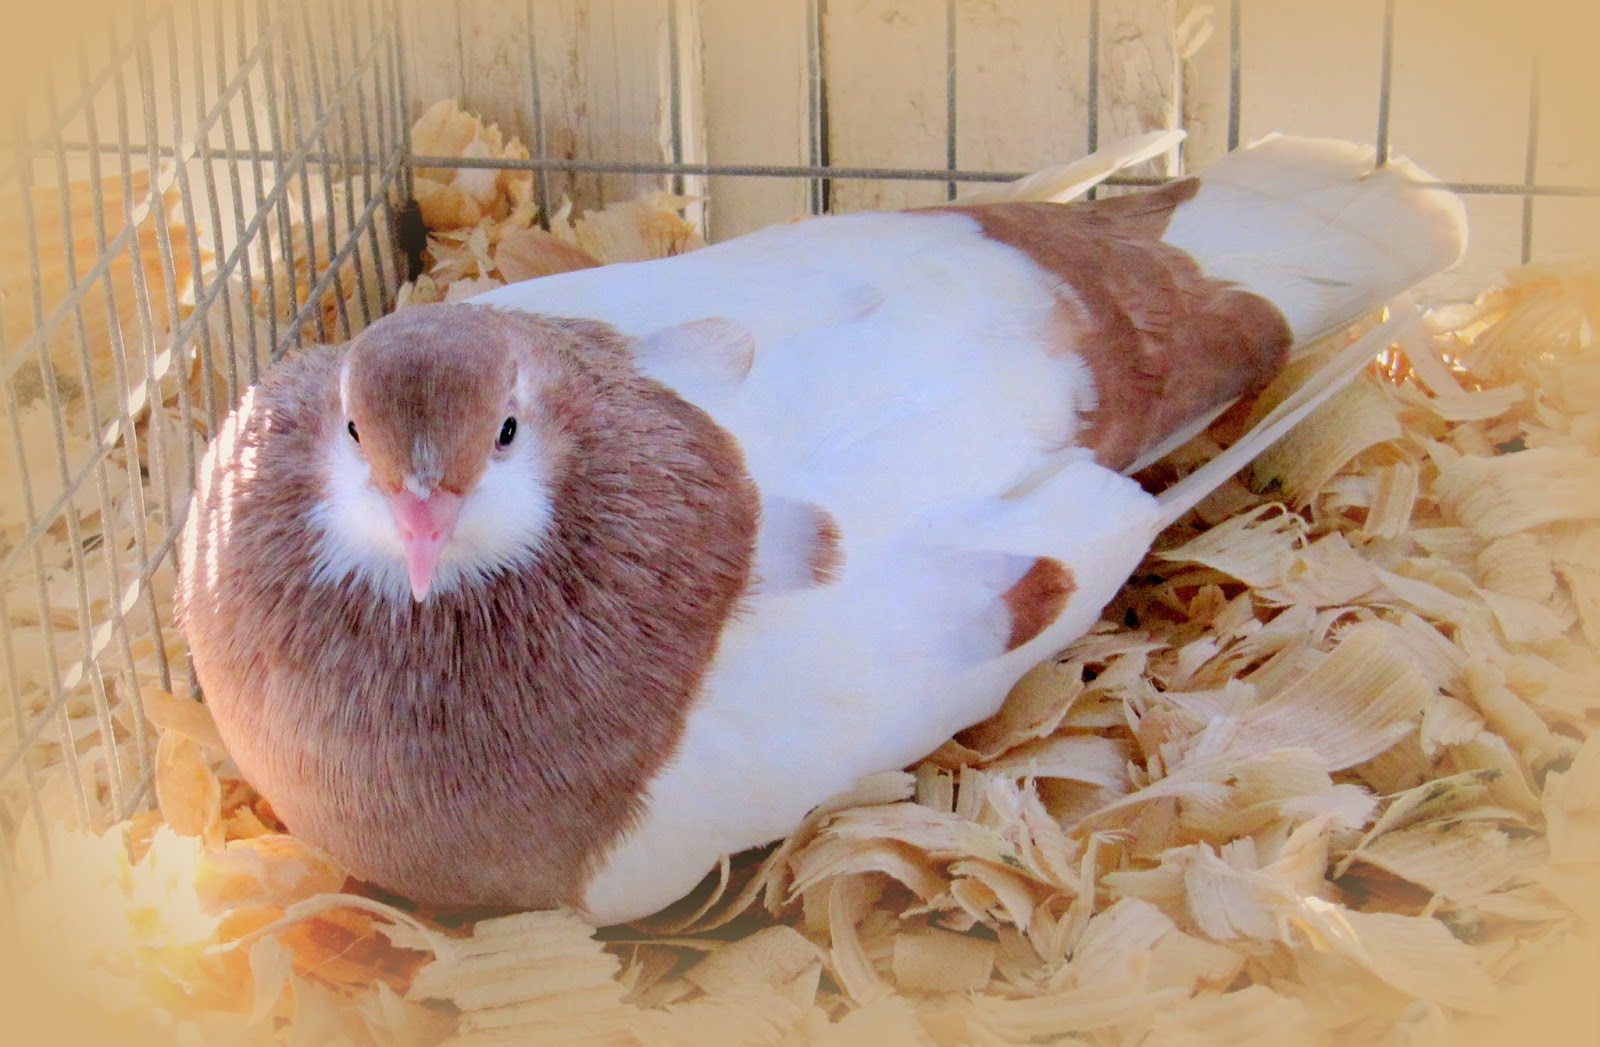
Under normal circumstances, I tolerate pigeons, but I'm not a big fan.  These pigeons are beautiful and stately and curious and smart, well at least smart-looking.  Who knows.  They're pigeons.     

I thought this was the most beautiful pigeon.


Check out the polka-dot goat!

Oh Hogwash!!!


In the food building we saw luscious tomatoes, onions, peppers, cucumbers, corn, potatoes, everything!


This is a prize-winning sunflower, and that's my prize-winning hubby adding a touch of color at the bottom!

Last night was the Demo Derby.  It is even harder to photograph than a chicken.  My favorite moment in the Demo Derby was when the siren when off and the officials waved their red flags and everything came to a screeching halt.  Over the loud speaker came the explanation:  "There is a safety issue."  Ha!  The whole thing is one gigantic over-the-top safety issue!!!  Someone quickly removed a wayward tire from the field of play and off they went again smashing into each other with reckless abandon.  Wreck more abandon is more like it.

 Today is the last day of the fair.  I would love to go over there are volunteer to be a pie judge, but I bet they already have that covered. 


Monday, May 28, 2012

Daylilies and Twinkie and One Crazy Acorn

Hi Friends.  Gayle asked me "What are you working on now?".  Good question.  There is a hooked rug somewhere in my answer to the question, I promise...

Mostly I'm working on keeping my house clean in case there is a showing.  We're on the market!  I must admit that each passing day without a showing I lose a little bit of steam for this whole housecleaning thing.  So many things I'd rather be doing...   like spending time watching the garden coming to life...  Classy Cast has bloomed...

When our son was a little tyke, he used to describe each of his favorite things as "my best".  
Classy Cast is "my best".

Here's another early bird in the garden... Celebrity Elite.  These have had quite a bit of sun on them already today, so they look a little fadey, but this daylily develops a shiny look during the day - almost like they have been sprayed with lacquer - which I can completely guarantee is NOT the case.

And now (drum roll please...)  may I present the 2012 Tiny Bunny.  Following in the footsteps of Little Bun Bun (2010) and Bun3zle (2011), here is BunTwinkle, aka Twinkie.  So far this is the best photo I have been able to manage.  Twinkie is by far the tiniest of the Tiny Bunnies and is faster than greased lightening.  He (she?) is also the shyest.  He is eating the baby carrots I put out there, but only after I leave the area.  Today I bought Kale at the store - he won't be able to resist that!  He is so tiny that when he sits in the lawn (eating it), only his little ears stick up above the grass.

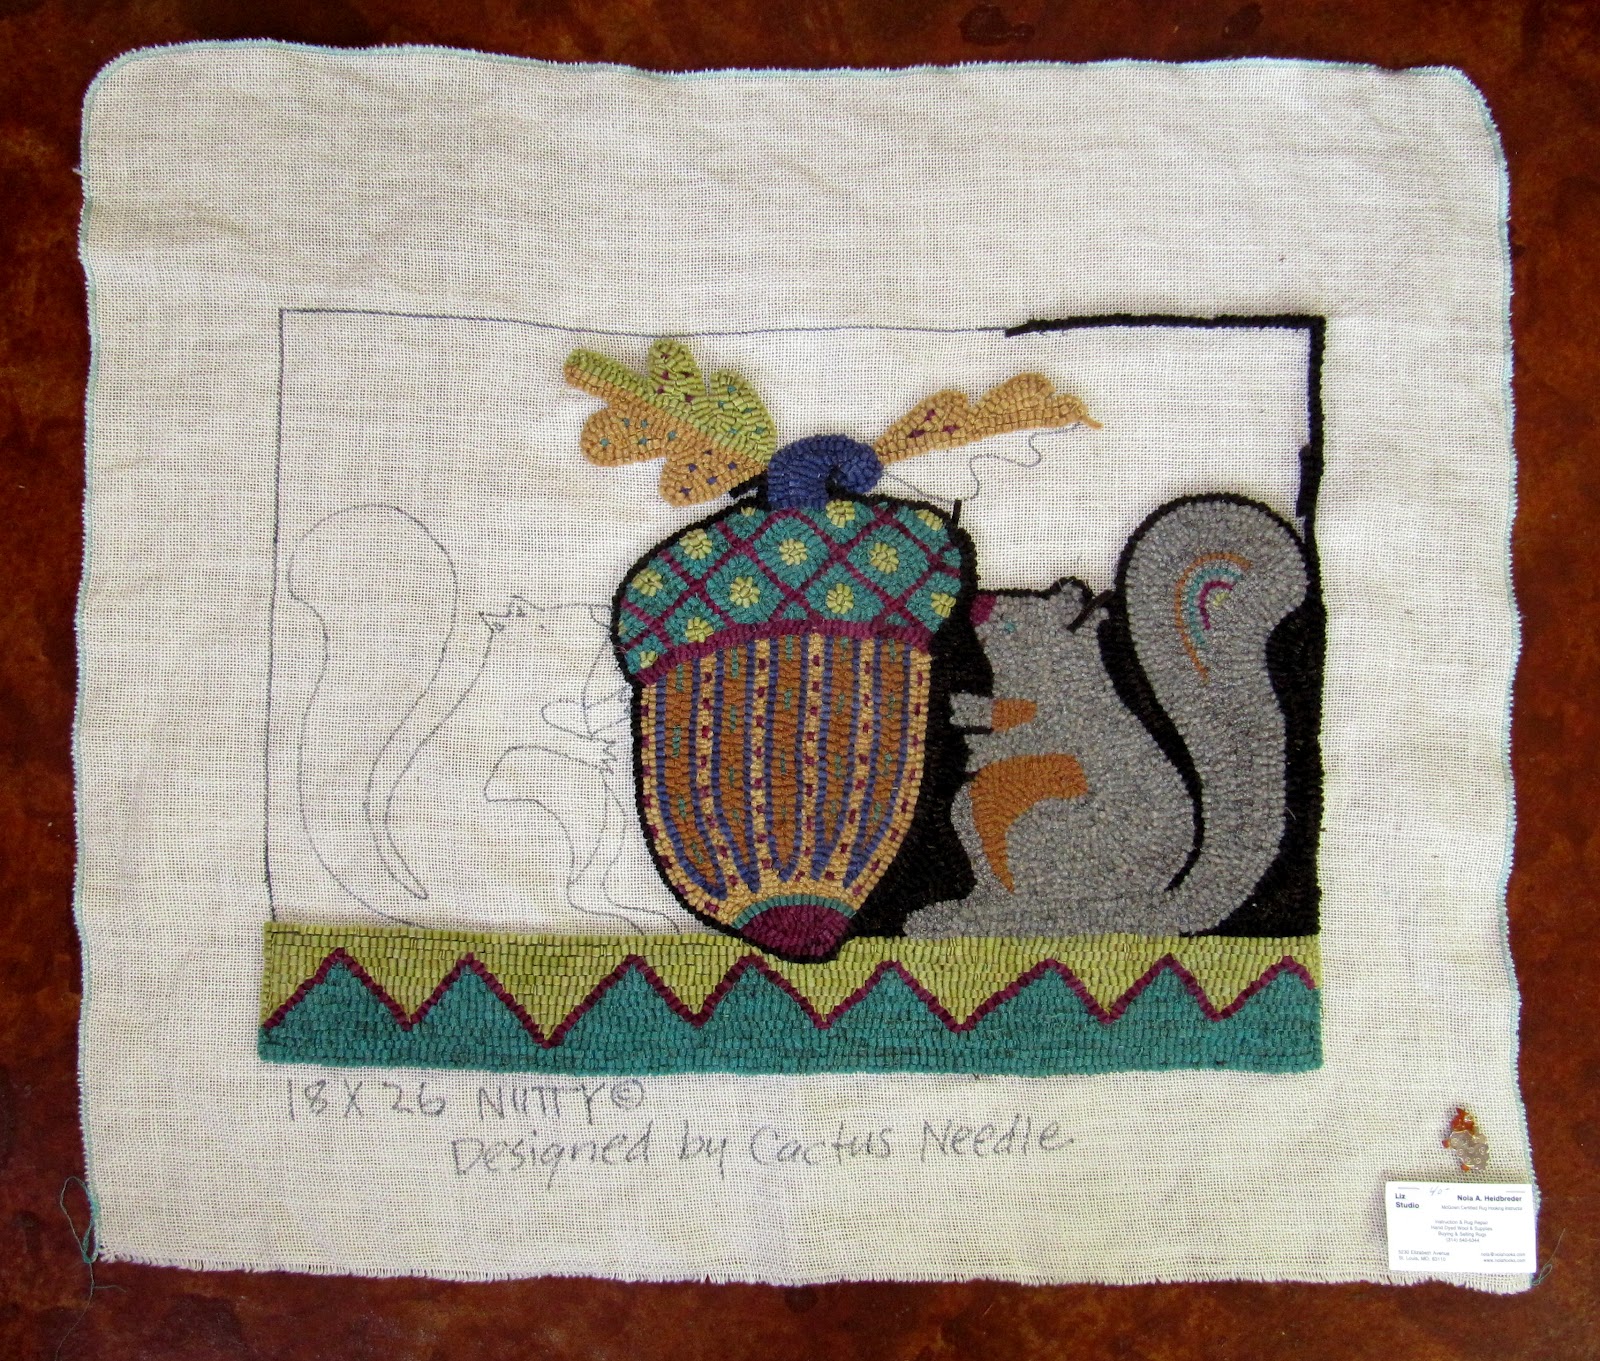
OK - you are probably here to see a hooked rug, so here's my current rug hooking project.  This pattern is called "Nutty" by Cactus Needle.  The pattern may be purchased here nolahooks.com.  I saw a completed version of it at the Lenexa Hook-in and thought it was really cute.  I pretty much copied the acorn colors from that rug because they were awesome, but I've used other colors for the other elements.

So, that's what I'm working on!
I have an idea percolating in my head for my next rug, but I am doing my best to finish Nutty before I tackle the new idea!

Sunday, April 15, 2012

Flip Flop Bunny Hop... Done!

Yesterday, when I had to stop everything to carry my most precious items to the basement, I was not quite finished tacking down the twill tape on the back of Flip Flop.  Damn TORNADOES - leave us alone!  Thankfully, we were spared all but some high winds and a bit of rain and hail.  The bad stuff skirted right by us to the northeast.  This time.

So Flip Flop Bunny Hop did not get finished last night, but didn't get blown away either!  It took just a few minutes to finish up today...  so...  Ta-Dah!!!

(The light green you see around the outer edge is not part of the rug.)

I think this pattern by Dogwood Hooked Arts is very clever and creative.  Thank you Dogwood Hooked Arts!  (Pattern is available at www.heartandharerugs.com). 

I tweaked a few things after my previous post about this rug.  I emphasized the dark outlining around the bunnies a bit more, I re-did the eyes several times, I lightened the center bunny just a wee bit, and I added a very narrow and slightly recessed dark brown outline around the white tails - very narrow as in a #4 cut.  It is hard to see in the photo, but just that tiny bit of outline made the tails seem more dimensional - made them stand out better against the crazy background around them.  (Thanks Anita!!!)  Last, I finished the edge with cording and a nice green wool yarn that blended very well.

If you have not seen my previous post about my inspiration for this rug, you can check it out here

 Thanks for looking!

Saturday, March 17, 2012

Bunnies in Progress and More...

Hi Gayle!  : >)

Hi everyone else too.  For my birthday last year, when I was 39 for the umpteenth time, by BFF Anne gave me the pattern Flip Flop Bunny Hop from Dogwood Hooked Art (website info is at the bottom).  She knew I loved it and even if she didn't know, it would have been a very good bet that I would!!! 

Before I had a chance to start it, I saw this rug in Celebrations XXI...
...and I was immediately Inspired!  About one second later, I thought of Flip Flop Bunny Hop...  could I use this technique on that pattern??? 

First, let me say right away that the rug above, which is called Fishing Day, was designed and hooked by Capri Boyle Jones, Navarre, Florida, in 2010.  (I hope it is OK to put the picture here on the Dusty Trail.)  Second, let me say that although I was inspired by her rug, I knew I was after a much-scaled-down version of her technique.  Her rug is artistic and painterly, with shadows and shading and exquisite use of color - you know - techniques that require TALENT!!!  According to the article in the magazine, she used 3,5, and 8 cuts to create her rug.

So here's where I am as of this morning with Flip Flop...
See what I mean by saying mine is much-scaled-down?  It is definitely more "naive".  Originally I pulled lots of bunny colors, ranging from cream to dark brown, and lots of grass colors, ranging from very light to very dark green.  The only other idea I had in mind was to make the middle bunny medium and dark values and the other two bunnies medium and light values, which I did.  I cut the browns in #8 and the greens in #4 and #6.

As I studied Capri's rug more thoroughly, I quickly noticed there are LOTS of other colors in there, not just "browns" and "greens".  I knew this when I started the bunnies, so from the beginning I added the little spots of color here and there.  When I started the grass, I didn't really think the spots of color would be necessary - but that was Wrong!  I did a big patch of grass using just the greens and it had no sparkle, no personality, it was just kind of blah - even with all those different greens working together.  So I started putting the spots of color in the grass too.  It made an amazing difference.  Here is a close-up of the grass...
When viewed from a distance, the spots of color add "dimension" - that's the best word I can think of to describe it.  I'll post it again when it is finished.  I love working on it, so it has a good chance of being finished soon!  I really enjoy hooking in a "free-form" on the grass (nothing is actually drawn on the background for the grass so it feels a bit like painting).

I was looking for something on my blog the other day and realized I had never posted a photo of the little table my husband built for my sunflower rug - at least not in finished form.  So, here it is...
How it looks on the area rug under it was a rather happy accident.  Here's a shot from the top...  the pattern is called Penny Rug Sunflower by Primitive Grace.  This is the smaller size - it is also offered in a larger size. 

OK - as promised to Gayle - here is a shot of the baskets where I store my wool strips.  My husband built the shelves for me - they slant down just a bit.  The shelf part is not solid - you can kind of see between the baskets that there are "sticks" of wood.  Just enough to support the baskets - which of course weigh very little.  The baskets are Longaberger bread baskets purchased on ebay.  It took forever to collect that many because I had a very low price threshold!  Every once in a while I would win one, and eventually I accumulated enough to make this work.
In the interest of full disclosure... the photo above was taken right after he built the shelves and right after I spent a LONG TIME organizing all these strips by color (sort of).  Strips go in and out of these baskets all the time.  Baskets get pulled out and stacked on the floor. Strips get dumped out on the floor and lots of digging around happens.  Re-organizing does happen from time to time, usually after I finish a rug.  If you could see a photo of my little "studio" this morning you would know why I laughed out loud when I opened this photo this morning!

Here are a few more shots from my little hooking hideaway...
That book cover with the bunny (above) is so wonderful - I want to hook that someday.   Snowman and pumpkin patterns are by Anita White.
I found black striped fabric on a clearance table and bought it to cover the rocking chair seat (above) and make a valance.  I had a pro do the rocking chair seat, but I made the valance - complete with beaded edge (from Hobby Lobby).  I must say I was pretty proud of myself!!!

I know everyone is enjoying the early Spring...  hasn't it been wonderful!!!  We've had several days in the 80's here in Kansas.  The flowering trees are magnificent (already) and the allergy sufferers are... well... suffering! 

Flip Flop Bunny Hop will be back soon...

The pattern may be found on this site:  www.heartandharerugs.com
Click on Catalog, then click on Dogwood Hooked Art, then click on Animals - there are 5-6 pages of patterns, so just keep going until you see it.  There is a photo of a finished one.


Thursday, February 23, 2012

Bunnies in the Barn... Finished!!!

Two finishes this week...  I'm patting myself on the back (which is painful if I use my right arm).

I am not 100% sure WHEN I started this project, but I do know WHY I started this project.  I came across this...
...on an Art website - the kind where you can buy framed prints.  It was love at first sight.  I said "that would make a great hooked rug".  As luck would have it, the artist who painted the original image was "unknown".  Yeah!  Well wait, I guess that is sad in a way, but it meant that I didn't have to get anyone's permission to copy it.  I copied the image from the site and printed it out and didn't do anything with it for awhile.

I have worked on it off and on over the last several years... and now it is finally finished.  Ta-Dah!

I am really Quite Pleased with the way it turned out.  I decided at some point along the journey to put it in a 16x20 barnwood frame.  I found this frame at Hobby Lobby for $23.  Must confess here that I broke one of my cardinal rules - that is to never buy anything at Hobby Lobby that is not on sale - but I was in Gotta Have It NOW mode.  And I thought the $23 was not a horrible price. 

I mounted the hooking on a 16x20 3/16" foam core board.  The actual hooked image is about 3/8" less than 16x20 all the way around. (I did not want the hooking to be "under" the lip of the frame.)  To do this I had to remove several rows of hooking, but I felt that did not interfere with the design.  In the photo below you can see the 3/8" edge with no hooking and you can see two of the special pins I used to attach the hooking to the board. 
 Here's a close-up of the type of pin I used.  I found them at a fabric store here in town.  They were very easy to push into the foam core's edge - didn't even need a tool - just pushed them in with my fingers.  For this 16x20 piece I used 50 pins.
After the pinning, I folded the excess linen to the center and laced it up using cotton yarn.  My theory is that someday I (or someone who buys this at a flea market in 2055) might want to finish the piece as a mat rather than have it in a frame.  That is still totally possible!
The final step will be to put a piece of cardboard over the back and punch it all in tight with my hubby's special gun that shoots those little metal slivers into the inside edge of the frame. 

My favorite memory of working on this rug is this beautiful and darling handmade and hand-painted pottery bowl... shown here next to the bunnies and full of wool strips...
One day I got a call from Anita White, my rug hooking teacher.  She was in Texas and spotted the bowl at an art show.  I had just started Bunnies and of course she had helped me pick out all the wool.  The bowl made her think of my rug, and it is pretty easy to see why!!!  After she described it to me I said Yes - it sounds fabulous!   I could hardly wait until she got back to Kansas so I could pick it up.  I do not know the artist's name - there is a mark on the bottom but no name.  Anita said all her things were selling very fast at the show.  I feel quite lucky to have it.  Thanks Anita!!!
 Bunnies all around the outside!
 More and more bunnies!

Now I must move on to my next unfinished project.  I think I have one more, not counting one I just started a few weeks ago.  This weekend is the hook-in in Lenexa so I know I will be Very Tempted by all the patterns there...  bring it on!


Thursday, July 7, 2011

The Best Weeks of Summer

Daylily time here in Kansas is in full swing - well maybe we are a little past "peak", but there is still much beauty to behold.  Most of these lilies were probably here on the blog last year, but many of you were not!

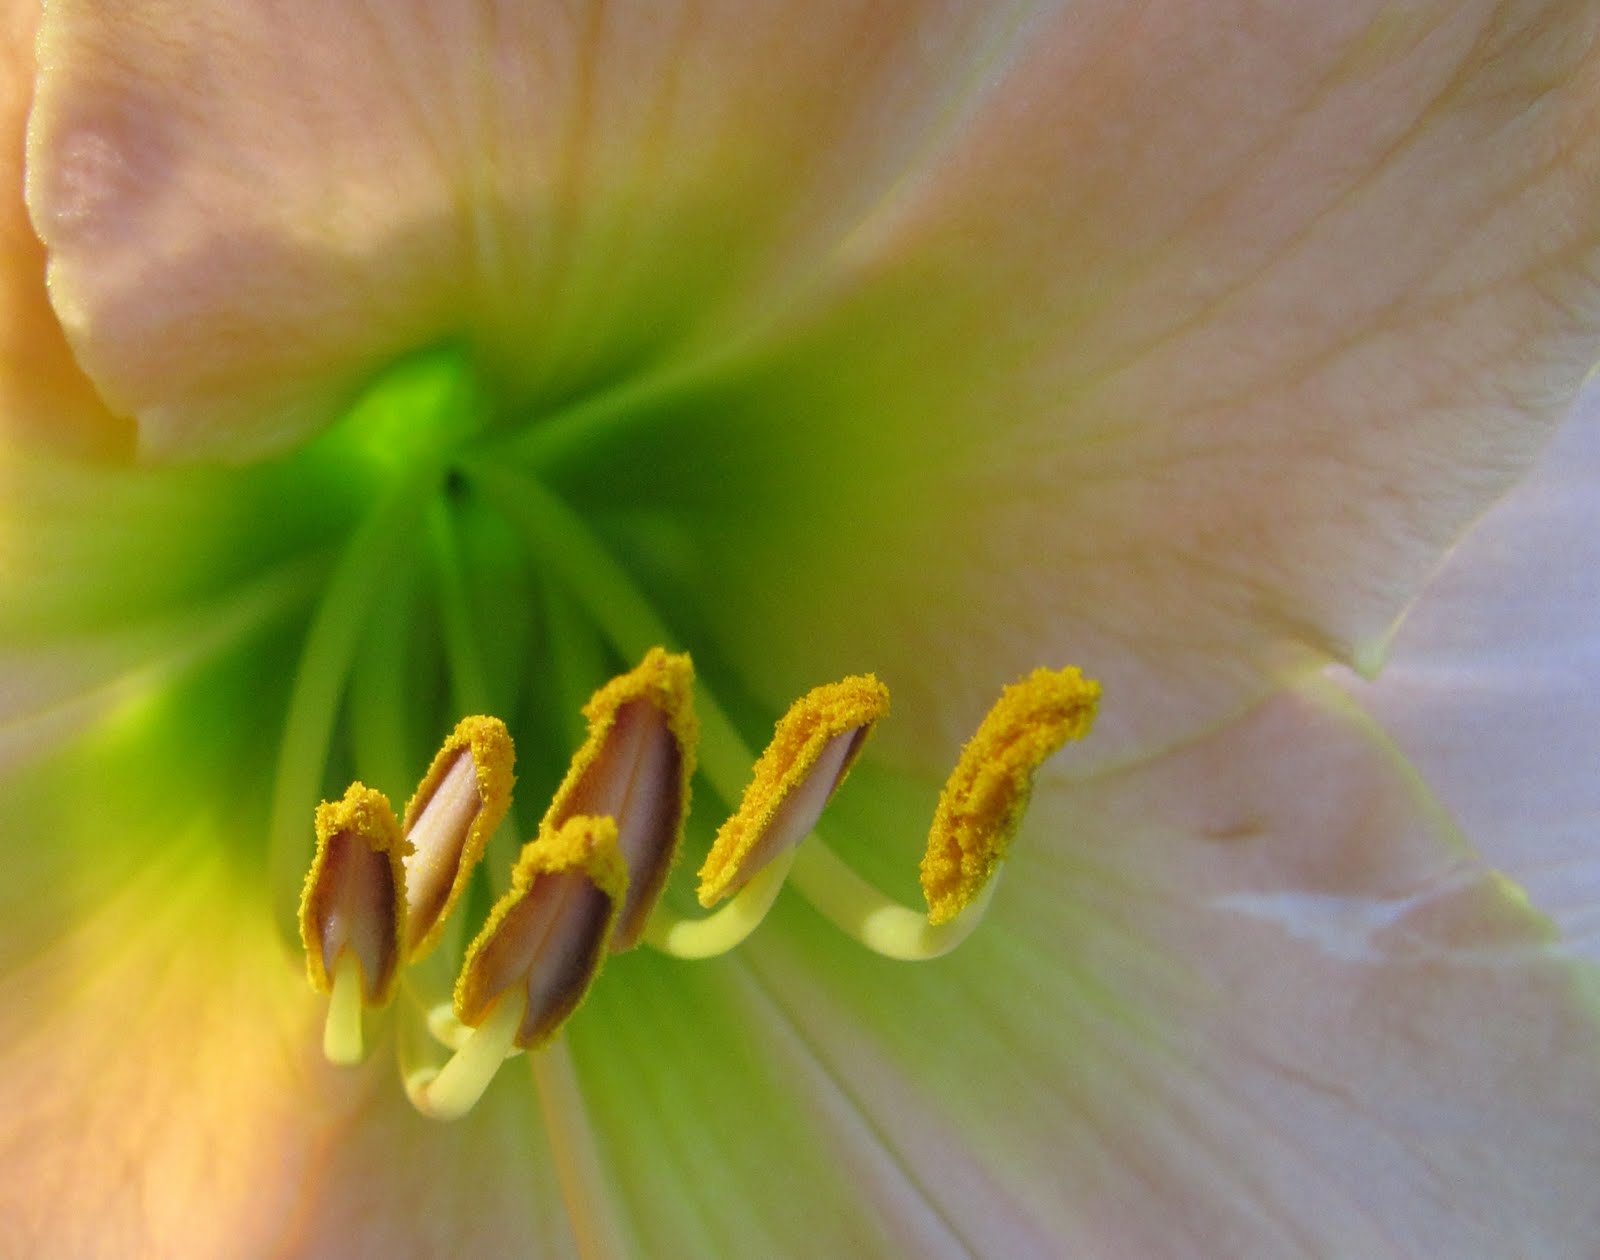
Here are a few of my favorites from this summer.  These shots were all taken in my garden, by me, with my little Canon camera.  I experimented more this summer with my "macro" setting (close-up).  I really really really like those shots!  Many of them have bugs... so if you don't like to look at bugs just skip over those!

I'll add the name of the daylily if I am sure of it (hybrid daylilies have registered names...).  There are a few other flowers and critters here too.

Take a few moments and enjoy.  My son says I put way too many photos on my blog - but this will probably be my only daylily post for the summer - so there are lots of photos.  These are in chronological order - as the garden progresses the lilies become prettier - so try to make it to the end!


Butterfly Weed... see the ant... the little blooms are tiny.


Lights of Detroit ( I think)


Thumbprint

Etosha

Thumbprint (again)

Classy Cast (this is my all-time favorite daylily)
 Classy Cast (again)
 and again.

Making Friends


This is Bun3zle... there is also a Bun2zle but he doesn't come around much.  3zle is so tiny - she would easily fit in the palm of your hand - like that would ever happen!!!  She is now fairly tame.  She sits on the patio and waits for me to come out and bring her carrots and kale.  I could sit out there for hours and watch her.  Apparently I am very easy to entertain!
 

Grandfather Time

Brand New Lover
 Classy Cast (again!)
 Mokan Gold
 Red Ribbons


Grape Adventure

Golliwog

School Mate

 Mynelle's Starfish

Commandment

Bun3zle... I think she is smiling...

Copper Summer (I think)
 Ladyfingers

Fruit Loops

Double Old Ivory

Hudson Valley


This is the largest of my garden areas.  We had 3-4 VERY hot days in a row and blooms were way down as you can see.  They recovered within a few days.

Moth on the outside of my kitchen window.

Pink Puff


Partial views of two smaller garden areas.  
 

Jan Marie

Ruffled Ruby

Beautiful Edges
 Eotsha (again).  I love the dark/light background here.

Vintage Wine

A fancy bug with lacy wings.

Ouachita Beauty


Spanish Glow

Atlanta Debutante

Baroody (with a little Lullaby Baby)

Ivory Edges

Making Friends (again)

Gentle Shepherd

I've lost the name of this one.  I took this very early one morning and she is only half awake!

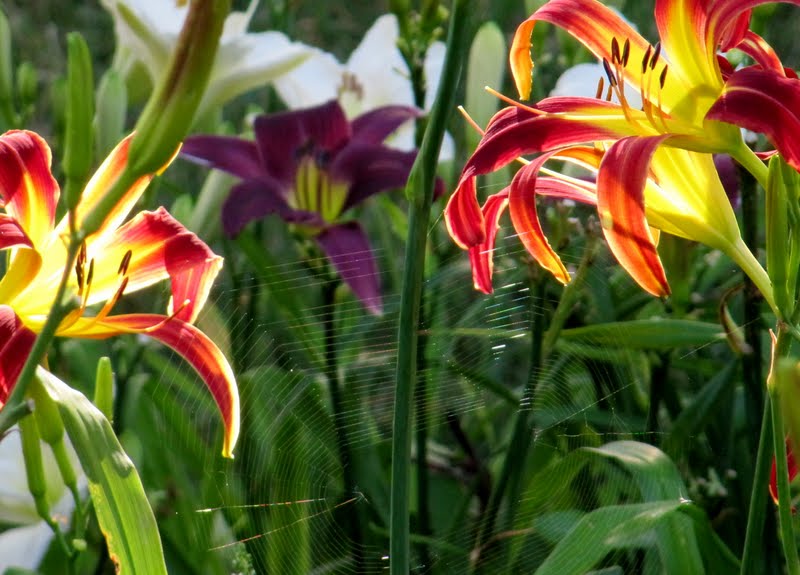
Red Ribbons and spider web.


This is my favorite photo (so far) this summer of Bun3zle.  I wanted a picture of her from the back with her little white cottontail and her ears sticking up, but she kept turning her head to see what I was doing!  I guess it is asking a lot of a bunny to let a human sneak up behind to take a picture. 

If any other daylilies make a dazzling appearance, I'll put 'em on here.  Or if Bun3zle does something cute we might see her again!